HOW TO DO A BATHROOM RENOVATION IN PICTURES
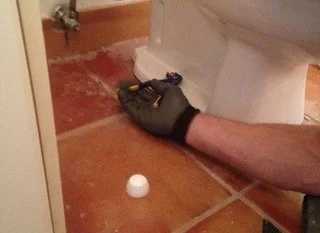
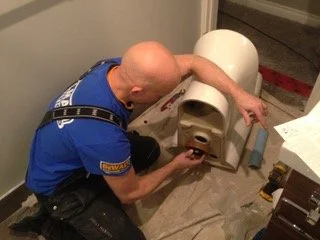
The first thing to do in this complete bathroom renovation project was remove the toilet. Put it in a garbage bag to keep clean.

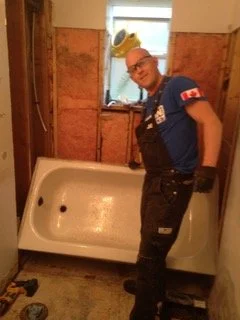
Remove the old bathtub

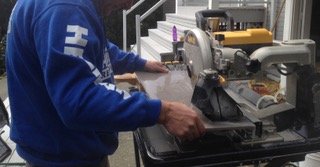
I used the reciprocating saw to cut around and remove the tiles around the bathtub. A pry bar came in handy to remove the tile parts.
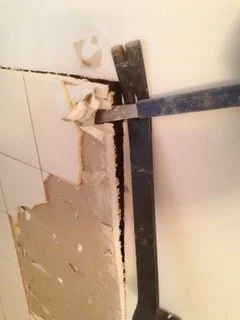
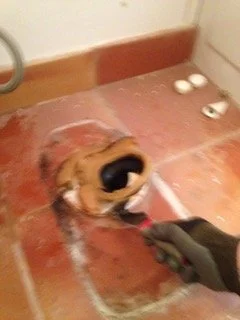
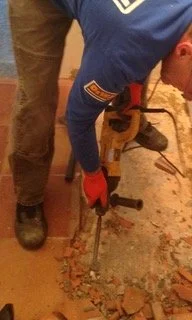
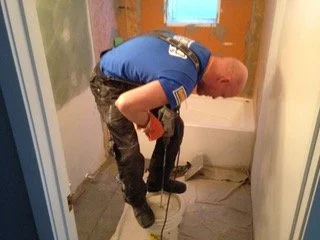
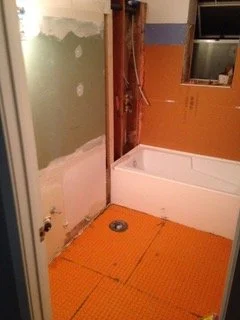
Then, we removed the drywall which left the studs exposed. A little bit of drilling job was required to get rid of the old floor tiles. Every bathroom renovation needs a little elbow grease!


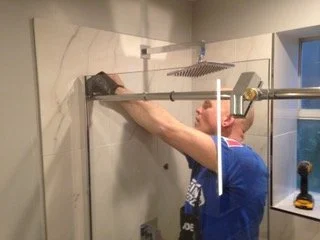
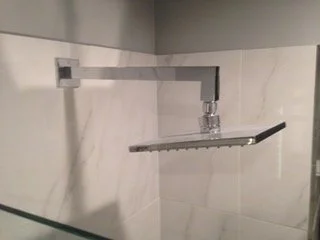
We added a showerhead. I determined the appropriate height at which the new showerhead should be installed by using myself as a model. Before, there used to be a shower curtain and a rather old-fashioned showerhead.
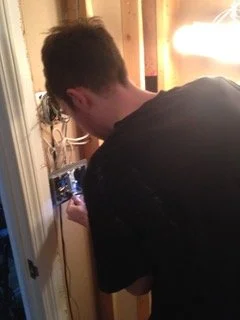
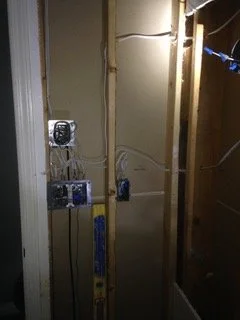
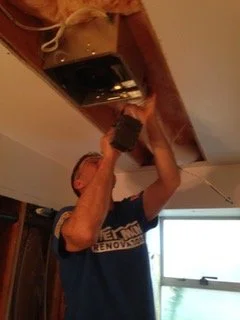
After the bathroom renovation plumbing was sorted out by R and B Plumbing and Heating, we turned out attention to electrical installations by Coast Mountain Electric. My renovation electricians wired the electrical outlet and ceiling fittings.
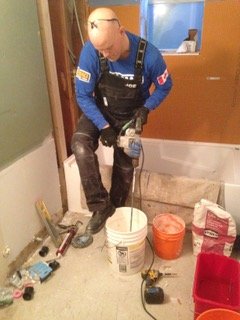
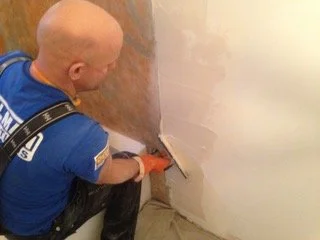
I employed a mixer to stir the drywall mud. Here, you have to be a bit careful and press the trigger gently.
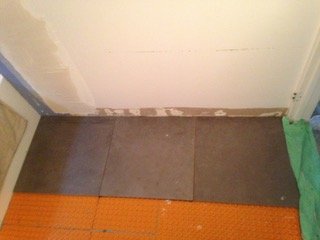
I measured everything thoroughly in order to figure out how much tile, mortar, grout, and backer board I needed. The tile cutter was used to make tiles fit the specific layout of the bathroom. A Schluter anti fracture membrane with in floor heating attached to concrete slab provides sturdy foundations for tiles.
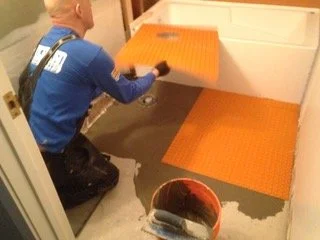
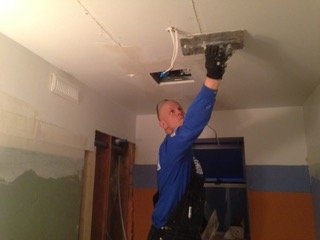
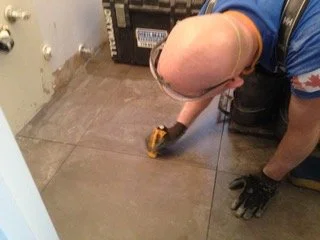
I applied a layer of Mapei self levelling mortar to the floor. I had to wait 24 hours for it to dry. After that, it was possible to add a waterproof tile membrane over the subfloor. Finally, I could place the tiles and fill the spaces between them with grout.
Once you lay the groundwork and do the math, you make certain that the stage of laying tiles plays out nice and easy. So, do not overlook a single detail such as having to cut the tile and make it fit the shape of a drain in the floor.
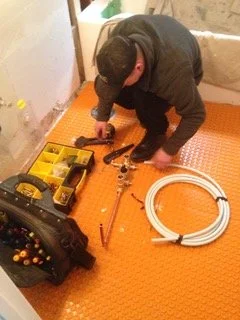
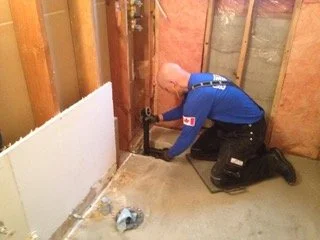
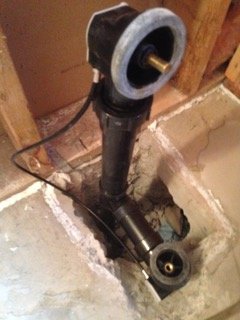
One of the tasks was to handle the plumbing infrastructure for the shower. We assembled pressure-balance and anti-scald valves. They were installed between the wall studs.
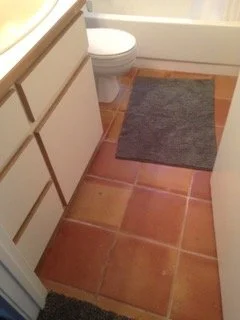
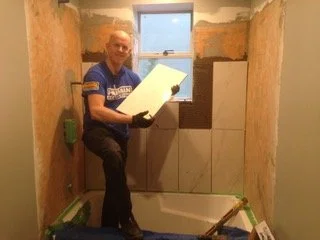
As for the area around the tub, it is advisable to go for tiles. The porcelian ones we used are strong enough to endure years and years of splashing and high water exposure. Again, I had to pay attention to the layout and how the tiles will fit the sections around the window.
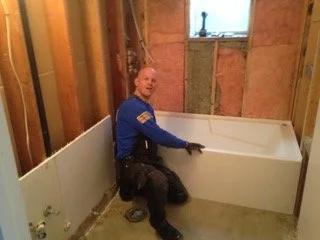
It was time to put a maax bathtub in place. First, I installed a new tub drain and plastic pipes and ensured that the tub sits level.
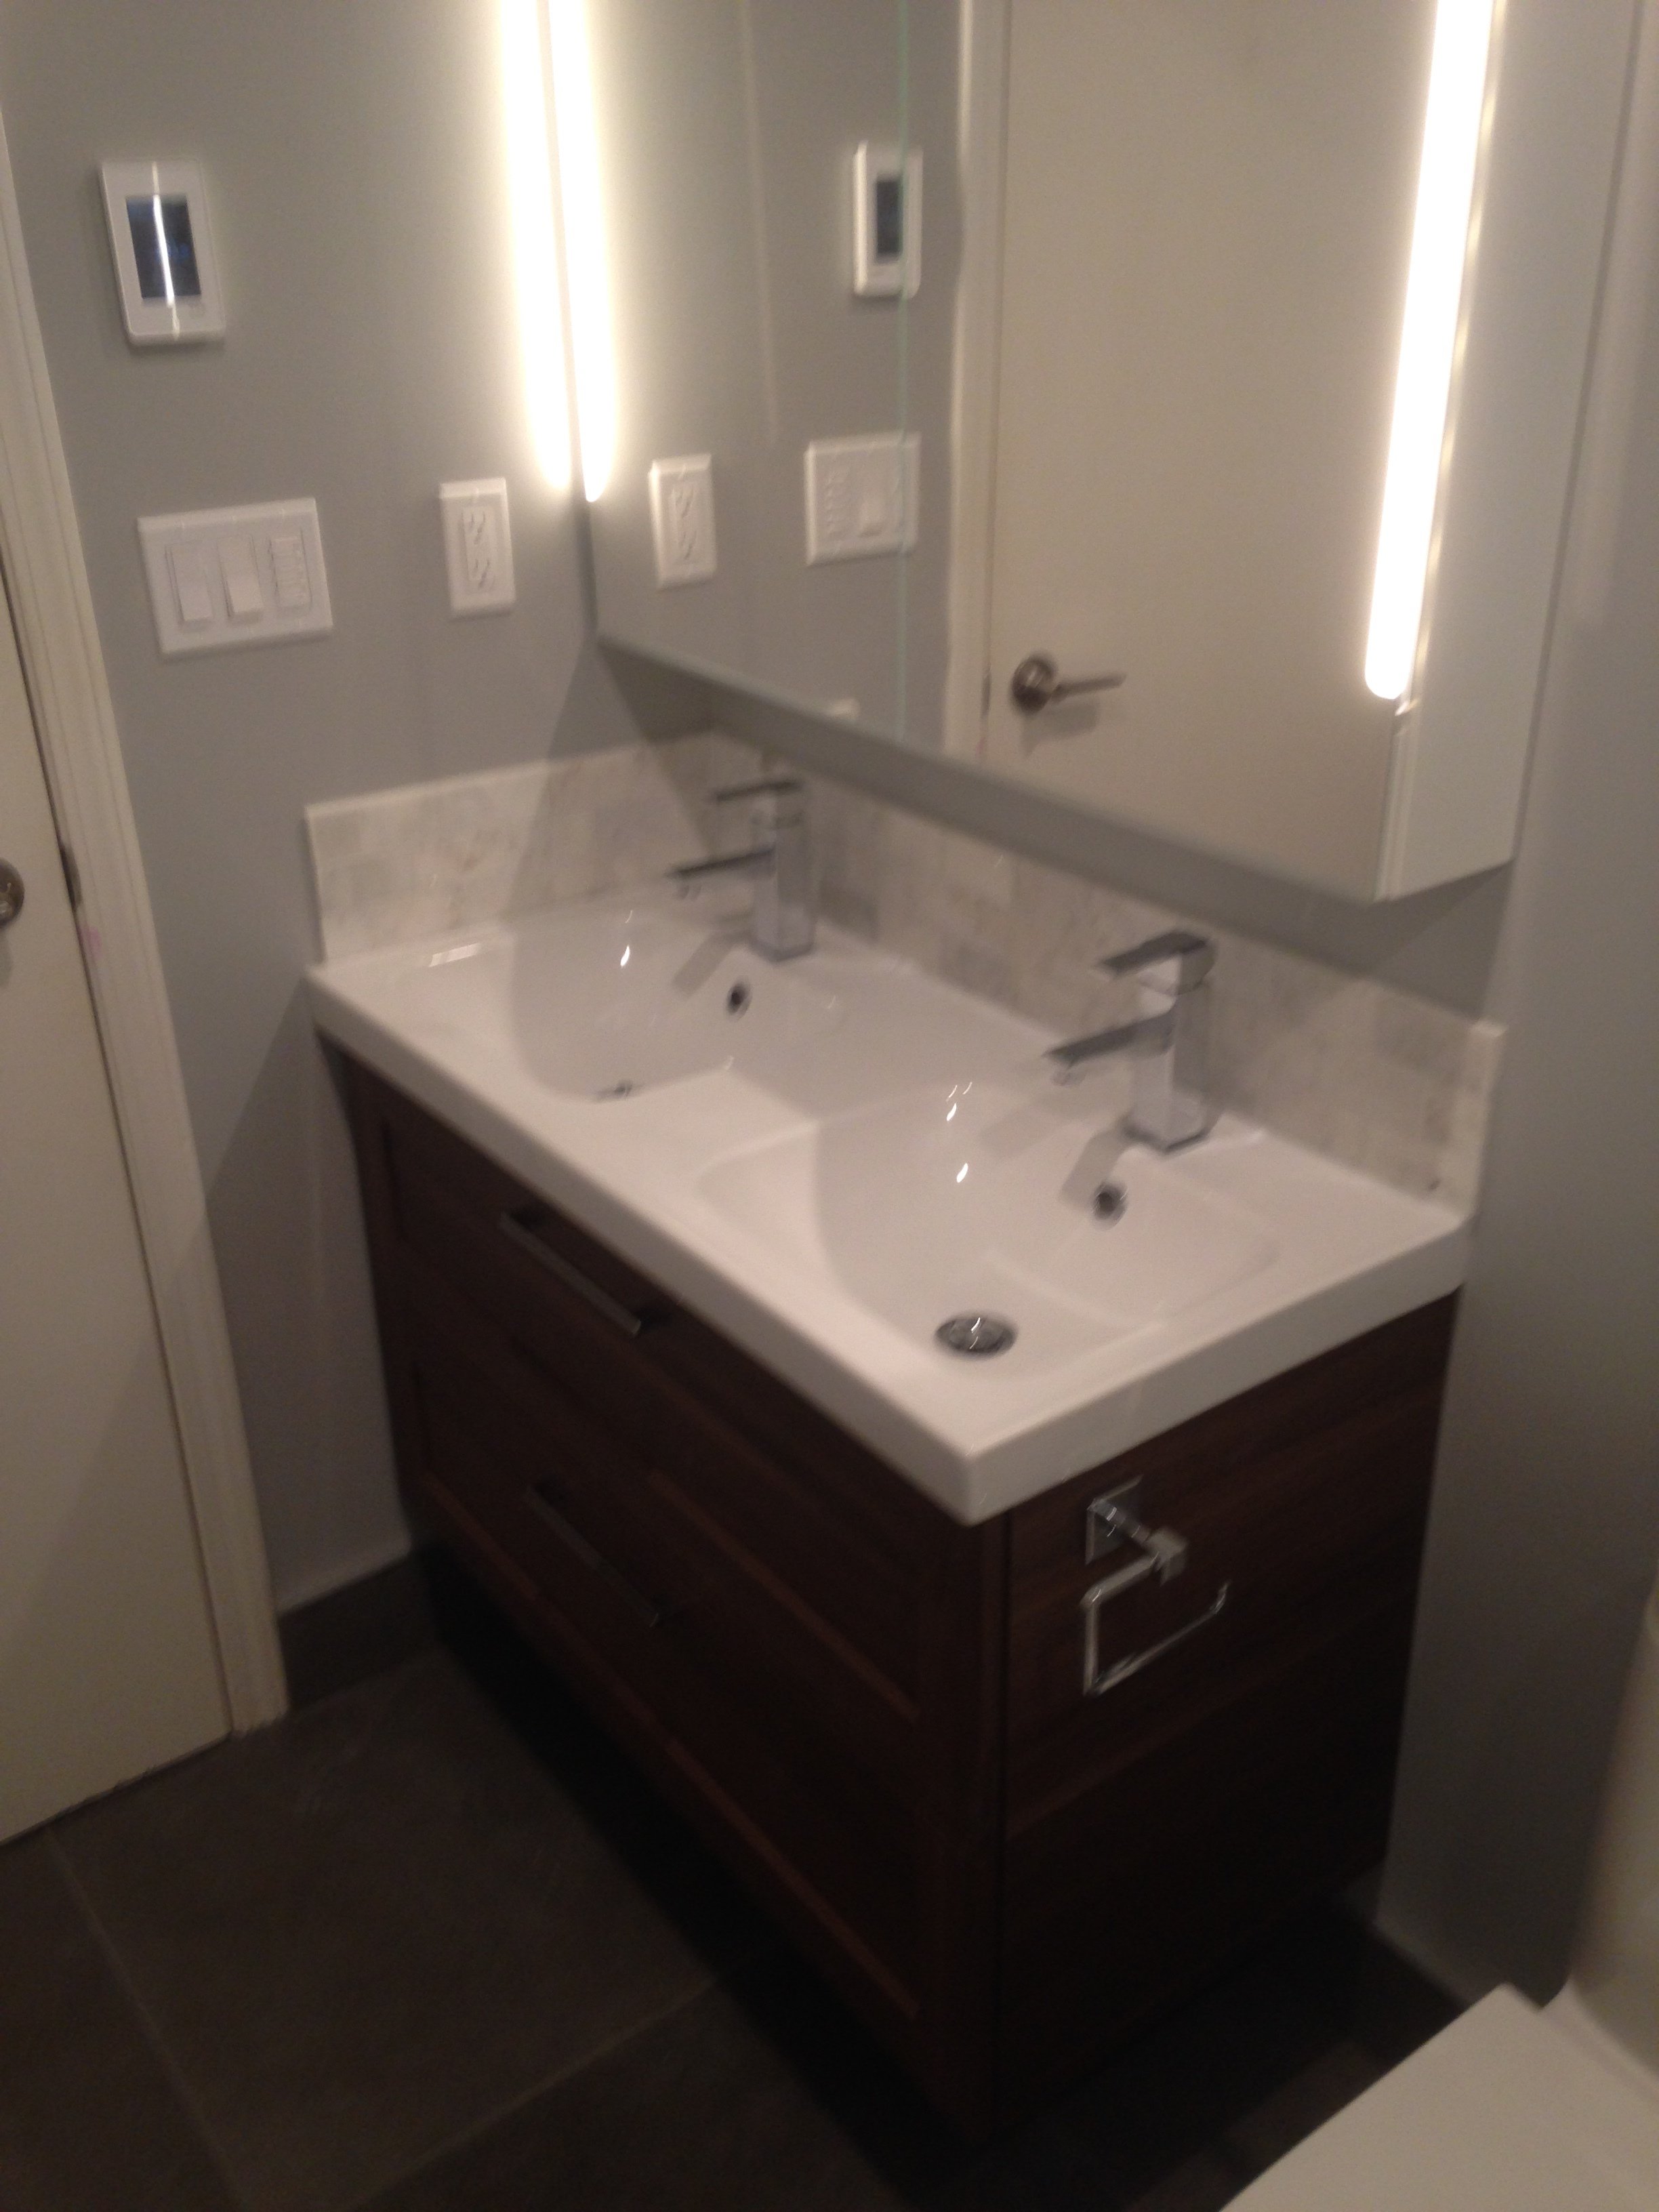
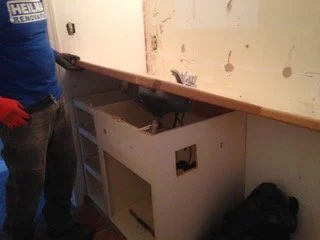
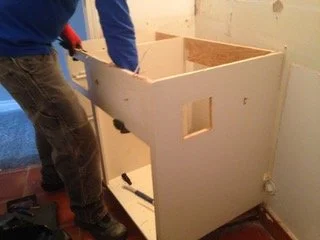
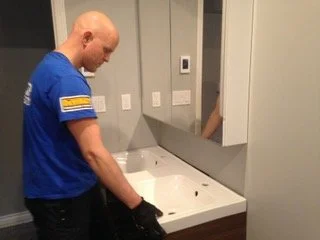
At last, it was time to deal with fixtures. We placed a new, double sink and two faucets. The new counter is custom made and drawers provide much-needed storage space.
That is all folks, roll up the sleeves and have a great success with your bathroom renovation or contact us at Heilman Renovations!